

In the sometimes hostile world of local SEO, your Google Business Profile (GBP) may be your most powerful weapon. You want to rank in the coveted 3-Pack. You want to make your way to the top of Google Maps listings. You want your profile (or your clients’ profiles) to rank for all the right keywords.
Few tools help you track, manage, and optimize your GBP like Local Viking does. I realize that Local Viking, like most SEO tools, can look a bit daunting at first. That’s why I’ve created this easy-to-follow guide. You’re going to learn:
- How to add locations to Local Viking
- How to track keywords in Local Viking
- How to use Local Viking’s GeoGrid feature
- How to automatically post to your GMBs (GBPs) using Local Viking and CSV files
- How to run location reports
- And more
There’s a lot to cover—Local Viking is a pretty powerful tool. Let’s get started!
1. Adding Locations to Local Viking
Activating APIs on Your Google Console
In order to use all the features Local Viking has to offer, you’ll need to activate a number of APIs on all projects being managed with Local Viking. These APIs are all “Google My Business” APIs (no longer very aptly named, but with this being the 5th or 6th time Google Business Profile has changed its name, the devs can’t be blamed).
Teaching you how to set up your Google Console to use APIs is a bit out of the scope of this article, but it’s pretty straightforward—most of you have probably done it already, and those that haven’t will be able to use Google’s guide to create your own projects.
Once your project is created, you can activate the necessary APIs—use Local Viking’s Switching to the New GMB API guide to do so.
Adding Locations Using Google Accounts
There are two ways of adding locations to Local Viking—the easiest is to connect your Google Account (or accounts) to the software. To do this, simply click on your account in the top-right corner, then click “Google Accounts” from the drop-down menu.
Once you’re on the accounts page, simply click “Add Account”. Follow the instructions (Google will ask for permission to connect to Local Viking), and a list will be populated with all of the GBPs managed by your Google Account.
From here, you can simply select any (or all) of the GBPs you’d like to manage using Local Viking. You’ll now be able to access all of those accounts from your Local Viking.
Adding Locations Manually
You can also add locations manually—though without APIs and Google Account access, you’ll find functionality is limited. Simply go to the Locations page, then click “Add new location” in the bottom-left corner. You’ll be greeted by the following page:
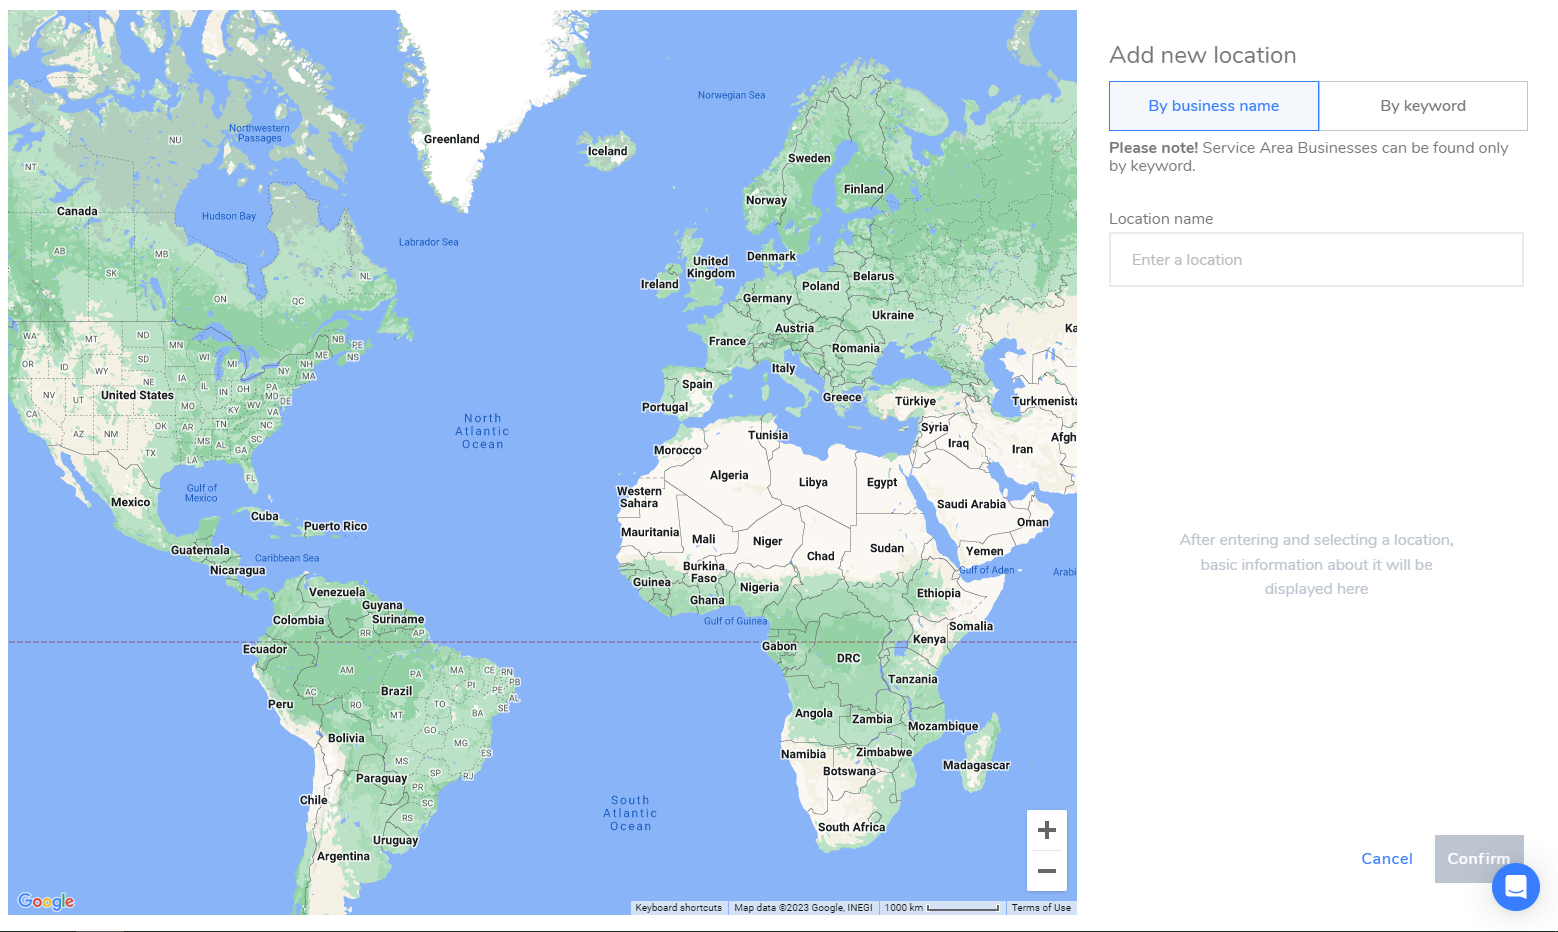
You can add locations by typing in the name of the business or by using keywords and location information. This tool is particularly handy for doing competitive analysis, so consider using it to find and add businesses competing with yours, then see where they’re outranking you.
I’m jumping ahead a bit, though. You’ve added your locations. You can see them on your locations page. What can you do from here?
On the Locations page itself, you can quickly sort through pages using these filters:

Once you’ve selected a location, there’s a lot you can do:
2. Editing Your GBPs With Local Viking
With a location selected, you’ll be greeted with a number of options you can access through the menu on the left-hand side.
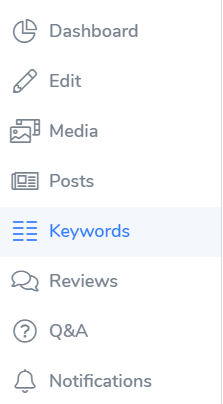
- The Dashboard gives you an overview of your GBP, including statistics on business impressions and contacts. You’ll also be able to access a calendar that shows you when various Local Viking-related tasks are scheduled.
- The Edit function allows you to directly edit your GBP from Local Viking—you can adjust hours of operation, NAP information, and more. You can also adjust certain Local Viking-related attributes, like local time.
- The Media tab allows you to directly upload images and other media to your GBP.
- The Posts tab allows you to add, monitor, and schedule posts—though I’ll do most of our posting using the Bulk Posting CSV feature.
- The Keywords function allows you to add and monitor local keywords—this monitors how well your site is performing for those keywords in Google Maps (and, as a result, in local 3-Packs and other rich search results). I’ll elaborate more on keywords in the next section.
- The Reviews tab allows you to monitor reviews—it’s tied in with Rep.co (disclosure: I’m affiliated with Rep.co), a review management tool.
- The Q&A tab—where you can ask and answer questions
- The Notifications section—where you can set alerts for changes to your GBP
Many of these features are going to be familiar to anyone who has used GBP for a while—what’s nice is that all the edits are available in one place, and you won’t have to toggle between profiles on Google.
None of these are killer apps (aside from keywords, which I’ll get into next, and notifications and reviews, which are both pretty handy). The goal here is to familiarize yourself with all of these pages to understand where you’ll find the data aggregated on Local Viking and to be able to quickly make changes to your GBP.
With that in mind, let’s take a look at some of the more powerful functions of Local Viking, starting with keywords.
3. Add Keywords and Track Local Rankings
Local SEO is all about beating other local businesses in the local rankings (how many times can I say local in one sentence?). There’s basically no platform that helps you track your local rankings as well as Local Viking.
On the keywords page, you can add any number of keywords you want to track. Local Viking will then regularly update your keyword tracker—bi-daily, bi-weekly, weekly, or bi-monthly. On the keyword page of the property you’re working on, you’ll be greeted by a chart that looks like this:
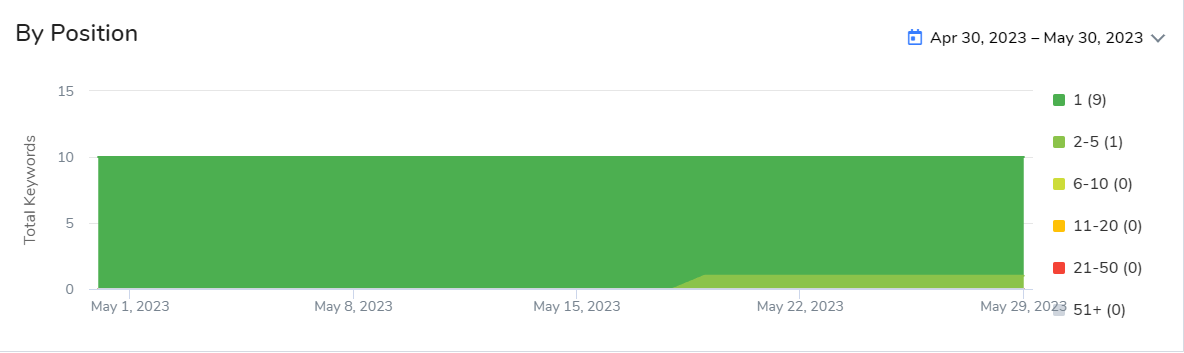
Below it, you’ll see the keywords you’re tracking and their performance over time.
Here, I’m only tracking 10 keywords. You can track more but remember: You’re only looking to track local keywords here, not all keywords. Service-in-location (SIL) keywords are great for tracking in Local Viking.
The local keyword rank tracking feature is one of Local Viking’s best—and things get even better from here. The real killer app offered by the platform is GeoGrid rank tracking—and it’s what I’m going to write about next.
4. Add GeoGrid Rank Tracking
The most powerful feature on Local Viking is the GeoGrid Rank Tracker. The best way to explain how this works is to show you an example:
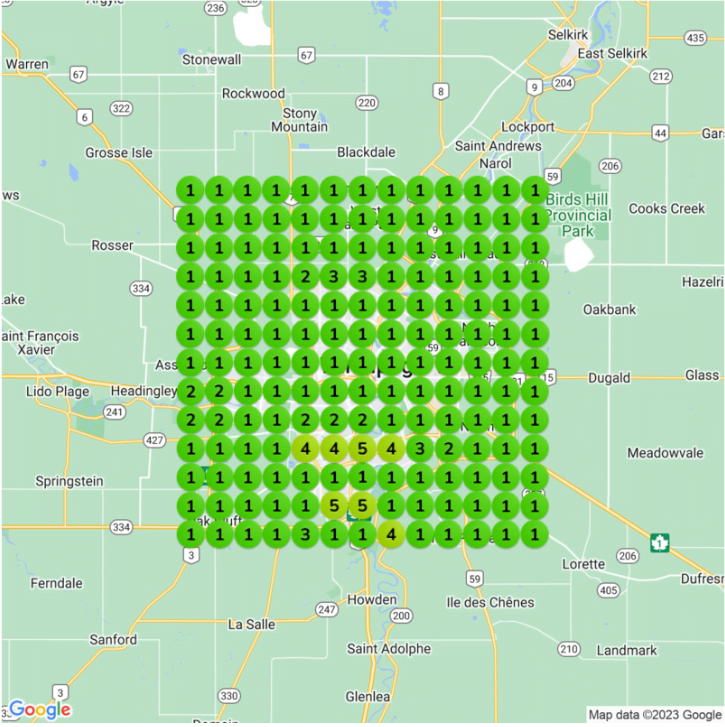
The numbers represent the property’s rank based on location—after all, local rankings are defined, in large part, by proximity. Ideally, you’ll want the whole map to be covered in number 1s—and Local Viking is the easiest way to check your rank in different locations.
You’ll be able to generate multiple grids for each property—each grid is generated based on a keyword and location that you set. The grid above is 13x13, but you can generate smaller grids if you want to.
When creating a new grid, you can select the size of the grid, the scope it covers, and the keywords you’re analyzing. You can also decide how often the GeoGrid updates, so you get relevant information about location performance as frequently as you need.

I recommend that you use the GeoGrid rank tracker for all of your local SEO—it’s really the reason to get Local Viking. I personally update most of my GeoGrids on a weekly basis, and I’ll use multiple search terms for each GeoGrid.
Historic Rank Tracking
One of the best things about the GeoGrid rank tracker is that you can easily compare between periods. When viewing a grid, you can change between tracked keywords on the left-hand side. You can then move between different periods using the scrollbar below the GeoGrid:

This makes it easy to see whether or not your local SEO efforts are stacking up, and it can be useful for showing clients the progress you’ve made.
There is, however, a better tool for showing off your work to clients—and that’s Local Viking’s Reports tool.
5. Make Reports for Your Clients
Head over to the “Reports” tab, then click “Configurations”, and you’ll be able to start automating Local Viking reports to your clients.
I don’t do this for many of my clients—I’ve got other reporting tools I use in order to showcase the gains I’ve made in local SEO. I recognize, though, that not everyone has access to those same tools, and Local Viking does a pretty good job.
With the client reporting tool, you can automatically schedule and send your clients detailed reports on their GBP and local SEO progress. These details include changes to your GeoGrid, local rank, and more. You can choose to send your clients any of the following:
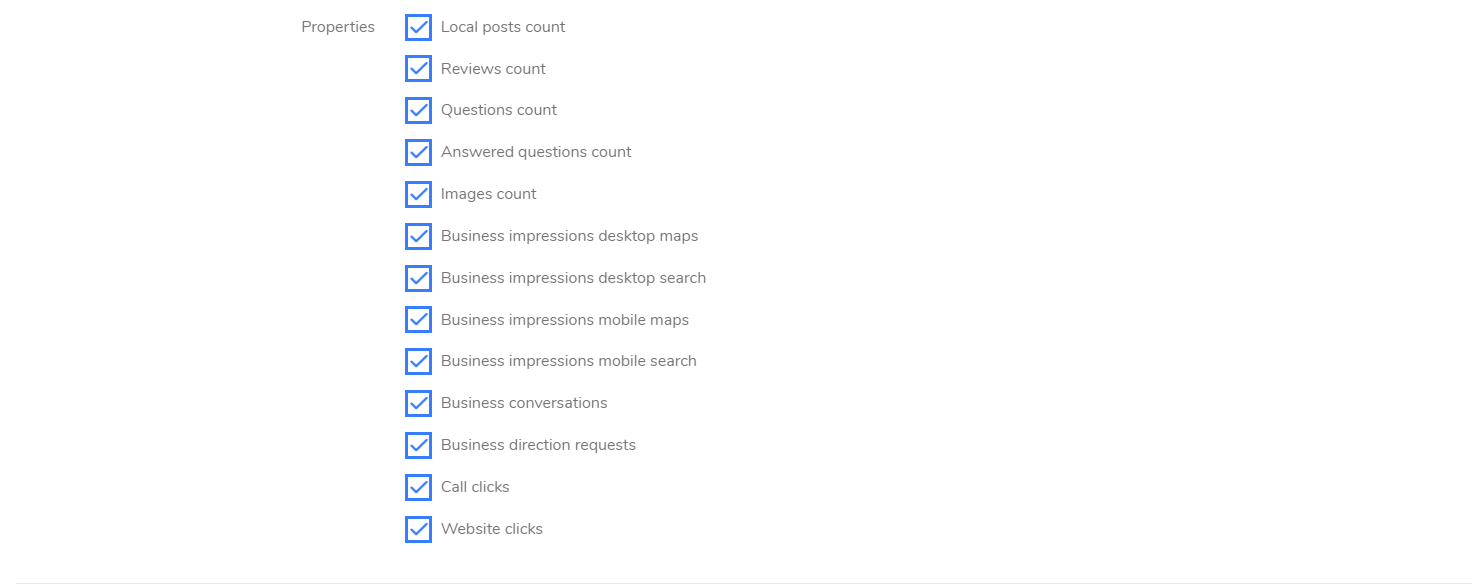
Sending them everything is usually the best bet. This also works well as a white-label reporting tool—there’s a white-label configuration option you can set up in tandem with your white-label partners to automate pretty much every element of the reporting process.
6. Automate GBP Posts Using the CSV Bulk Upload Tool
Local Viking offers a number of different methods for posting to all your locations—my preferred method is perhaps the most complicated, but it gives the most granular control over your posts. That means you’ll get more accurate results when you automatically post to your Business Profiles—and accuracy and precision matter in the world of content creation.
The CSV bulk posting tool takes quite a bit of explaining—fortunately, Local Viking created a video guide to CSV bulk posting. This tool is really handy—you can include spintax, post types (event post, standard post, etc.), coupons, CTAs, and more. You can bulk schedule these posts months in advance, so you can front-load all of your work. The spintax function can also help you generate more unique content—but I wouldn’t rely on it too heavily.
7. Buy Credits When You Need To
Local Viking operates on a credit system—as you track more keywords and create more GeoGrids, you’ll need more credits. You’ll gain credits automatically (the amount depends on which plan you purchase), but you can always top up if you need to.
In my experience using the agency plan, I’ve rarely ever needed to top up on credits—it’s a great business plan for even large local SEO agencies. Smaller organizations and businesses run by one or two local SEO experts could even thrive with a less expensive plan—it all depends on the number of clients you’ve acquired.
Conclusion
Most companies in the local SEO space can benefit from the tools offered by Local Viking. Here’s a quick summary of what it offers:
- Full GBP management and editing, all in one place
- Review management and reputation management (through Rep.co)
- High-quality local rank tracking through its keyword tracking and GeoGrid features
- The ability to create and schedule GBP posts
- An automated reporting system
- Scalability by purchasing more credits or upgrading your plan when needed
Local Viking’s reputation is fantastic—though it sometimes misses a bit on the accuracy front, its price is great, and it’s loaded with features. You can check out my Local Viking review to learn more. Heck, check out any Local Viking review—most SEO experts agree that it’s a powerful tool for tracking local search results and improving your local ranking.
I hope this guide has helped you learn how to set up Local Viking to track local search results, create reports, and monitor and modify your GBPs. This tool is worth your time if you’re trying to improve local rankings—follow the tips and tricks in this guide, and you’ll find tracking local SEO results a lot easier.
Leave a Reply
You must be logged in to post a comment.